Since no machine is capable of delivering the exact same result every time, designers and engineers set tolerances to establish the acceptable dimensional variation in a machined part. Having strict guidelines about machining tolerance is essential to set a controlled margin for error, especially in parts that are manufactured to fit together.
Check out this machining tolerance guide to learn more about the essential nuances and important considerations.
What are Machining Tolerances?
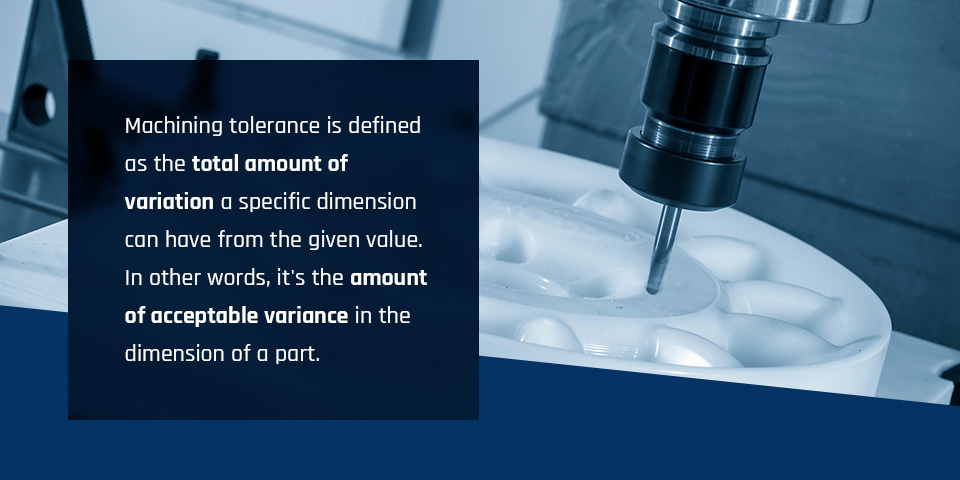
Machining tolerance is defined as the total amount of variation a specific dimension can have from the given value. In other words, it’s the amount of acceptable variance in the dimension of a part. Machining tolerance is expressed in a few different ways:
- The upper and lower limits (e.g. 0.2500″, 0.2498″)
- The allowable amount above and below a defined dimension (e.g. 0.2499″ ±0.0001″)
- The allowable variance by itself (e.g. ±0.0001″)
Learn About Our CNC Machining Services
The tolerance band is the range of allowable dimensions in the tolerance. If there is a small difference between the upper and lower limits of the tolerance band, that means the machining tolerance is tight. The larger the difference in dimensions, the “looser” the tolerance band.
Machining tolerance is expressed in numerals with any number of decimal places. Having more decimal places in a dimension means there is a stricter tolerance band. For example, a tolerance of ±0.02″ has a much larger range than one that’s ±0.002″.
If the part falls within the specified limits, it’s considered within the tolerance. Falling outside the tolerance can make the part unusable.
What Are the Standard Machining Tolerances?
Every manufacturer will establish unique machining tolerances for their parts, but a couple of general standards can be used as a guide.
ISO 2768
There are international standards for machining tolerances, expressed through ISO 2768. Precision levels, or tolerance classes, within ISO 2768 include f-fine, m-medium, c-coarse and v-very coarse. This standard covers the geometrical tolerances for linear dimensions, angular dimensions, external radii and chamfer heights, expressed through classes H, K and L.
Additionally, ISO 2768 encompasses general tolerances for:
- Straightness
- Flatness
- Perpendicularity
- Roundness
- Symmetry
While the international standard is helpful, it represents general standards that might not apply to all parts.
Learn About Our CNC Machining Services
Why Are Machining Tolerances Important?
Even the best machine using the best cutting tools will eventually see some variance in its output due to factors like tool pressure and wear. Therefore, machining tolerance standards are essential in manufacturing, particularly for mating parts, or parts that must fit together. For example, a bushing meant to fit on a rod might have a tolerance of ±0.002″. If the inside diameter is cut too small, the bushing will not fit. If it’s cut too large, the fit will be sloppy, potentially rendering the part unusable.
For machining, establishing acceptable variations in parts means:
- Less waste: If you have to scrap every part that doesn’t meet the exact design specs, you’ll be spending a lot of money on manufacturing unusable products. Establishing tolerance in the machining design process allows for variation so you get more viable parts without wasting resources.
- Reduced costs: Tight machining tolerances can create unneeded expenditures if a strict band is not necessary. While greater accuracy is always a positive, a tolerance band that is tighter than what the project requires can eat up significant resources. Choosing a slightly looser band, in some instances, may actually increase efficiency and minimize costs.
- Faster replacements: Machining tolerance standards mean parts can be interchangeable. If one component of a machine fails, the part can be easily replaced to minimize downtime.
- Quality assurance: The focus of machining tolerance is often the “wiggle room” it provides in the machining process. However, machining tolerances also establish strict guidance for when a product is usable and when it is not. Having these set standards improves end-user satisfaction and prevents issues related to inconsistent parts.
Factors That Impact Machining Tolerances
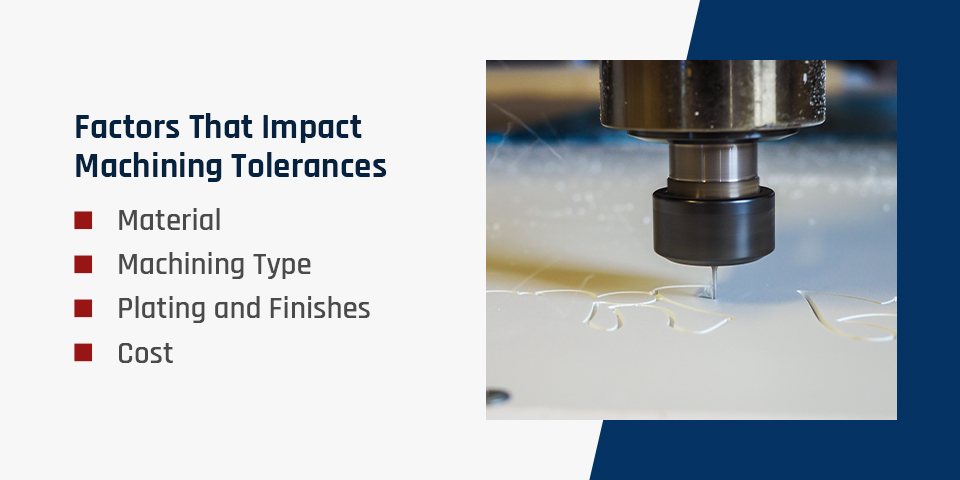
Engineers and designers establish machining tolerances early on in a project. To do so, they must factor in considerations such as:
Material
Materials behave differently under stress, and some are easier to work with than others. These material properties must be taken into account when determining tolerances. These considerations largely depend on the material itself, but a few of the most integral include:
- Abrasiveness: A material that is highly abrasive can affect the design tolerance and impact the cutting machine. Materials like phenolics, a fabricated reinforced laminate, are hard and dense. Glass laminates also tend to be more abrasive, and can lead to wear on the cutting machine.
- Hardness and rigidity: If your material is soft or flexible, the tolerance may need to be looser, as these materials tend to be more difficult to machine in specified dimensions. Polyisocyanurate, polyurethane and XPS foam all fall into this category. As a result, extra measures may be needed to cut the material to fit tolerances.
- Heat stability: Some machining processes create heat, which can impact materials like plastic.
Learn About Our CNC Machining Services
Machining Type
Another factor that influences typical machining tolerances is the machining method. Some methods allow you to achieve higher precision at a higher cost, while others are more cost-effective and suited to looser tolerance bands. A few of the most common machining types include:
- CNC screw machining: This method of machining uses a disc cam to feed a workpiece through a guide bushing, moving the part around the tool instead of vice versa. You can achieve a high degree of precision — with tolerances of ±0.005″ — because this method involves less vibration and deflection. Use this method for materials like foam, phenolic and plastic parts with extremely high dimensional tolerances.
- Shear cutting: Shear cutting is a process by which a part’s dimensions are altered by applying a force to the material great enough to cause the material to fail. Shear cutting is often applied using a punch and die or a set of blades, so it’s not a good method for soft or brittle materials.
- Steel rule die cutting: This machining method uses a custom steel tool called a die to punch out specific shapes on a material. Steel rule die cutting can produce custom die-cut components at a lower cost. It’s simple and accurate, but not the best for very brittle or soft materials. Foam, rubber and plastic are good options for this machining type.
- Rail cutting: In rail cutting, an operator manually alters the part with a rail saw. As a result, rail cutting requires more leeway in the form of a larger machining tolerance. A tolerance of ±0.031″ is common for this machining method.
Plating and Finishes
Plating and finishing can also influence the machining tolerance and part dimensions. These processes add small, sometimes minuscule, quantities of material to the part’s surface, but it can still affect the overall dimensions. Any plating or finishing should be factored into the tolerance during the design process to ensure accuracy before production begins.
Cost
The cost of materials and machining methods differ greatly. High-tolerance machining — with a narrow range in dimensions or four or more decimal places — tends to be more costly than parts with lower tolerances. With a larger room for error, you can spend less on precision machining.
Learn About Our CNC Machining Services
Choose American Micro Industries
American Micro Industries is your one-stop shop for replacement or new custom parts. Our machine shop services include CNC machining, die cutting and laser cutting. We make a commitment to providing exceptional service and quality, offering fast turnaround times and affordable pricing. AMI follows the strictest quality standards, and we inspect all parts before they leave the facility to ensure complete customer satisfaction.
If you want to learn more about AMI’s products and services or you’d like to request a quote, contact us anytime. Visit our CNC machining service page to learn more about our offerings.


