

CNC mill tools come in nearly as many varieties as products created by the milling process. Understanding the uses of these tools will make it easier to choose the ones you need for your project. Selecting the right tools makes the process of CNC machining more accurate.

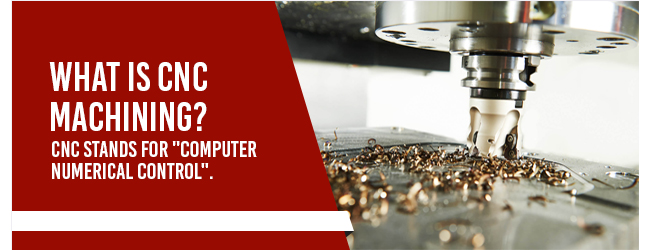
CNC stands for “computer numerical control.” The process of CNC machining uses a software program to guide the mills to create the finished product you need. Unlike 3D printing, which adds material as required, CNC machining removes unwanted material from the workpiece instead.
Machinists have several tools to choose from. Each device produces a different result. Sometimes, to get the perfect finish, the producer may use multiple tools.
Various types of CNC cutting tools allow for the perfect customization of the final products. Different tools are used to cut into and shape various materials. The final design of the cut also determines which tool to use. Aside from these criteria, professionals select tools to balance the desired finish with speed. One may be a priority over the other, depending on the final use of the finished product.
Here are some of the many tools available for CNC milling.
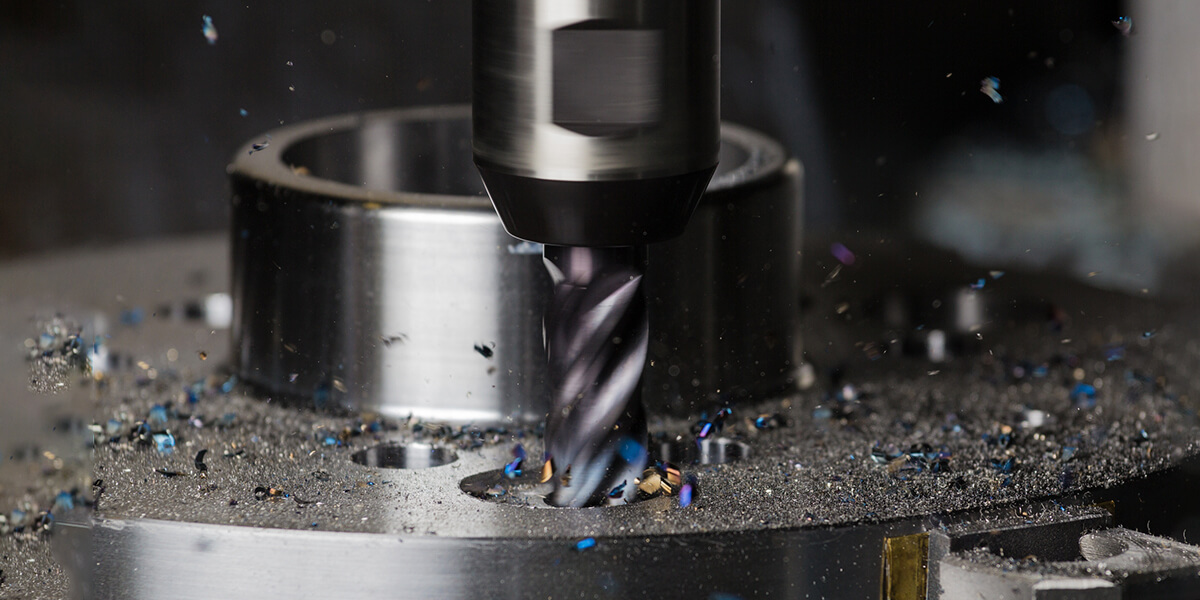
Chamfer mills do not have blades along the edges, only at the tip. These are used to cut angled edges. The cutting blades on each chamfer mill are called “flutes.” The more flutes on the mill, the more delicate the cut. But fewer flutes on the mill remove more material each turn, for faster production. Balancing speed and finish is essential when selecting a chamfer mill with two, three or four flutes.
End mills come in several types used for different cutting. All end mills cut at 90-degree angles, which distinguishes them from the angle-creating chamfer mills. To cut straight down, you use a center cutting end mill. These mills cut both in the middle and on the sides.
Non-center cutting end mills have a hole in the center and only have cutting edges along the sides of the mill. Roughing end mills are used to make the initial cuts because these have fewer flutes and remove more material at first. To create the finely cut finished product, you’ll use finishing end mills, which have more flutes to achieve a closer design to the desired part.
Aside from the number of flutes, the material used for the end mill will also make a difference in the tool used for a project. Cobalt, high-speed steel and carbide are common materials used to create end mills. Each of these materials has its benefits, but they cannot be used interchangeably. Here’s what to know:
End mills have numerous means of cutting into a material. How you will cut determines the tool used:
Ball end mills have rounded tips. As the name suggests, these mills produce clean and rounded bases at the bottom of the holes they create. Do not confuse ball end mills with bull nose mills, however. Although both create rounded cuts, bull end mills produce straight bottoms and sides with softened corners. Ball end mills are ideal for carving because they produce spherical bases.
Mills usually have twisted flutes. But in straight flute mills, the cutting teeth are vertical. The straight sides are best suited for cutting delicate or easily frayed substances, such as plastics or epoxy composite materials.
Most end mills have up-spiral designs, which pull the cut material up and out of the hole produced. But down-spiral end mills push the cut material downward. These mills do not work well for drilling through an element, but the end mills work well for cutting thin materials while keeping the top clean.

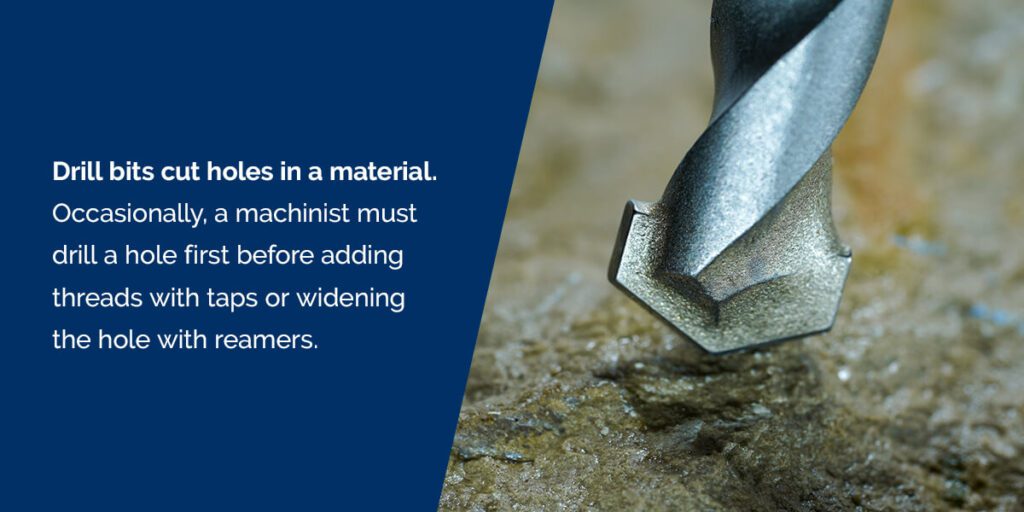
Drill bits cut holes in a material. Occasionally, a machinist must drill a hole first before adding threads with taps or widening the hole with reamers. Twist drill bits are commonly encountered in general repairs. These bits create small holes.
As with end mills, drill bits can be made from different materials that influence their strength and performance. Coatings on the exterior of the bits may increase longevity. Here are some common materials:
Flycutters are used to create a smooth, flat surface from a large piece of material. Think of table tops and counters. While they get a lot of material off the surface quickly, the design of flycutters can make the engine of the CNC mill work harder. Some people refer to flycutters as “spoilboards.”
Selecting the right tools for a project is half the job. Using the wrong tools could require too much time or even ruin the equipment. Several factors play into which device you select for a project. The materials you’re cutting into, plus speed, finish and the direction you need the material to go in, will all help you choose the best bit for the job.
Not all end mills and drill bits work well to cut all materials. A bit’s material determines the types of materials it can cut.
For instance, bits designed for plastic use operate at lower temperatures to prevent melting. Bits made for aluminum must pull cuttings out and away from the cutting surface to avoid compressing the shavings and the base together. To avoid irreparable damage, never interchange bits when cutting different materials.
Proper CNC mill tooling depends on your application. Before selecting a bit, consider the following material options:
Ceramic cutting tools cut with the greatest corrosion and heat resistance. Ceramic’s silicon nitride and aluminum oxide combination makes it a chemically stable material, preventing undesirable reactions with most workpiece metals. Ceramic bits are ideal for the following applications:
Ceramic bits offer excellent cutting efficiency, enabling you to cut materials quickly and precisely.
Carbon steel consists of carbon, manganese and silicon. It produces cutting tools with high machinability, making them easier to cut than other tools. Carbon steel cutting tools are ideal for applications requiring low-speed cutting. Choose carbon steel if you need to cut softer metals such as magnesium, aluminum and brass. Carbon steel is the most inexpensive material, and the following tools typically consist of it:
High-speed steel (HSS) is tougher, harder and more wear-resistant than carbon steel. HSS is incredibly durable because it consists of the following:
HSS tools typically have a higher price but offer incredible strength. HSS effectively resists abrasions and high temperatures, making it the ideal material for high-speed, continuous cutting. This long-lasting material delivers results and withstands wear longer than other options, allowing you to save money on replacements. HSS also offers a high removal rate for nonferrous and ferrous materials. It’s an excellent choice if you need to perform foam cutting.
Solid carbide consists of tungsten and carbide, and carbide tools are typically made of carbide and another metal such as titanium, tantalum or tungsten. Carbide bits are highly heat-resistant and can produce excellent surface finishes.
Carbide has a higher wear resistance and usually retains its sharpness longer than HSS, but it is more prone to chipping than wearing out gradually. Since carbide tools are vulnerable to chipping, it’s best to use carbide bits on harder more abrasive materials.
Carbide-tipped steel bits are durable, enable accurate cutting and are trusted when making intricate cuts. Carbide-tipped steel router bits are versatile and used for the following applications:
Tungsten carbide bits combine cobalt with tungsten carbide, making them durable and strong. A tungsten carbide compression CNC bit is the best option for plywood and composites.
Bits made of polycrystalline diamond are the hardest and most wear-resistant option, and they typically come at a higher price tag. Polycrystalline diamond bits use synthetic diamond disks to apply a continuous scraping motion. This movement allows a polycrystalline diamond bit to cut through rock materials.
Use a polycrystalline diamond bit if you need to drill through shale since this bit material can prevent borehole narrowing in unstable boreholes.
Using the strongest bit available for the material you’re cutting will prevent bit breakage and slippage. Stronger bits last longer while cutting more accurately than weaker bits. However, use caution when selecting solid bits for softer materials, including plastics. The excessive force could damage the material.
Finishing faster is not always desirable. The bits that cut more quickly will also make rougher cuts by removing more significant amounts of material at once. If the final product does not need a perfectly smooth surface, using a bit that cuts faster may suffice.
For finer finishing tasks, you’ll want an end mill with as many flutes as possible. The more flutes on a bit or end mill, the smoother the finish will be. When using end mills with three or more flutes, the process will take much longer because less material gets cut out with each turn of the mill. Keep this in mind when selecting parts to create smooth finishes or fine details.
To properly hone a piece without sacrificing speed or design, start the project milling with bits that have fewer flutes to create the gross cut. Then finish with end mills that feature more flutes to get a more delicate result. Although this process takes longer, it balances speed with finish quality.

Direction can make or break a product.
CNC millers may choose climb milling, also known as “down” or “conventional” milling. Conventional milling turns the mill end against the direction of the material feed. This method has the advantage of pulling the material up and away from the cutting surface. Unfortunately, it cannot be used with certain metals because pulling the chips away from the surface redistributes the heat produced from the cutting to the metal itself. Some materials experience damage from this excessive heat. Additionally, conventional milling requires more force on the tool, reducing its lifespan. Throughout traditional milling, the chip size gradually increases from the beginning to the end of the process.
Climb milling cuts with the feed. The chips produced get pulled away from the cutting surface, which keeps the surface neat. This cutting direction extends the life of tools by up to 50 percent , which in turn won’t require as much force to cut into the material. Despite down milling having the moniker of “conventional,” climb milling is becoming more popular due to its advantages. Unfortunately, many shops forbid climb milling because, if improperly done, the machine can pull the material upward, sending shrapnel through the workshop.
The key to safe and accurate milling starts with setting the correct feeds and speeds. Speed is either measured in revolutions per minute (RPM) or surface feet per minute (SFM). SFM should be a constant, which is based on the material being cut. Multiply the SFM by 3.82. Then, divide this value by the tool’s diameter in inches to find the RPM:
RPM = (SFM x 3.82) ÷ tool diameter
If you know the desired RPM, you can find the SFM by multiplying the RPM by the tool diameter in inches and dividing the result by 3.82:
SFM = (RPM x tool diameter) ÷ 3.82
To determine the feed, you’ll need to know the speed in RPM. For finding the feed measured in inches per minute (IPM), you need the chip load, also called “inches per tooth” (IPT). The IPM equals the product of the RPM, the IPT, and the number of flutes on the mill:
IPM = RPM x number of flutes x IPT
While you multiply to find the IPM, you’ll divide instead to find the chip load (IPT). Divide IPM by the RPM by the number of flutes:
IPT = IPM ÷ RPM ÷ number of flutes
These calculations are critical for achieving the desired finished product with a given material and an end mill or bit. Miscalculating could result in disaster if you put the wrong information into the machine.
Sharp mills require less force and produce cleaner cuts. But the problem with many coated and intricately designed mills today is the added difficulty of resharpening them yourself with a standard diamond sharpener. If they are sharpened improperly, the mills may not cut evenly or they could lose their protective coatings.
If you must have your mills sharpened, have a professional do the job. Otherwise, consider purchasing new parts. If you don’t want to make repeat purchases of mills, opt for coatings that help the mills last longer. Proper storage also will also increase the longevity of your cutting tools.
Even though mills and bits can cut tough materials, the flutes may still become damaged and dulled with improper storage. This is especially true of carbide, which is deceptively delicate.
Keep your mills in a specially padded storage container so they do not roll around and rub against each other. A carrying case is also essential for toting your tools safely if you travel with them. Resharpening your mills or purchasing new ones can be expensive and disruptive to your workflow. Store your tools correctly to avoid premature wear.
Don’t settle for subpar parts and tools. You need CNC machining professionals who know precisely which tool to use to achieve your desired outcome. We strive to bring you the highest quality possible for the work we do. Contact AMI today for a quote on your part creation from our professionals.